How to Create an Ad Account on Facebook
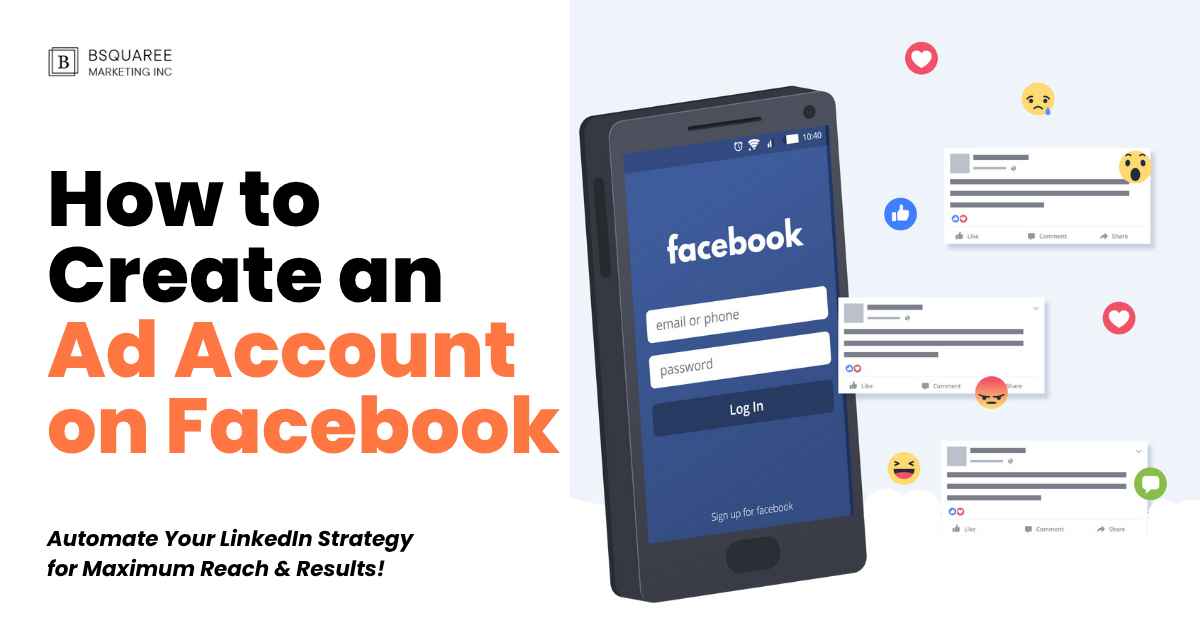
Facebook is a powerful platform for businesses, influencers, and individuals looking to advertise and promote their products or services to a large audience. Whether you are a small business owner or a marketing professional, creating a Facebook ad account is the first step toward building your brand’s online presence. In this guide, we’ll walk you through the process of creating a Facebook ad account, from setting up your account to launching your first ad campaign.
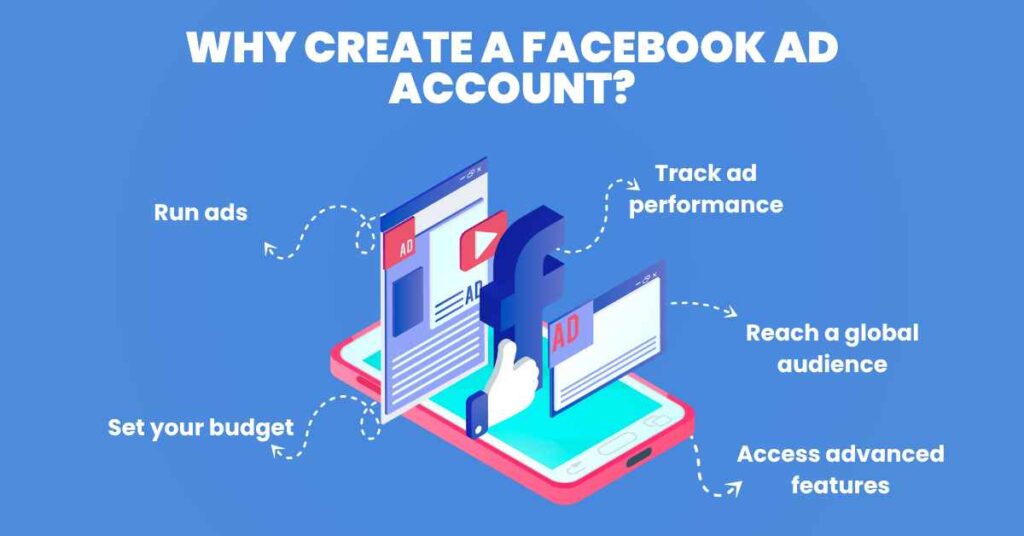
Why Create a Facebook Ad Account?
Algorithm Prioritization
- Engagement Signals: Facebook’s algorithm prioritizes content that generates meaningful interactions, such as likes, comments, and shares.
📈 Example: A video ad that garners 200+ shares and 300+ comments in 48 hours will often see a reach boost compared to a static image with little interaction. - Relevance Scoring: Ads with higher relevance to users’ interests are more likely to be shown to a broader audience.
🧠 Example: An ad with a Relevance Score of 8 out of 10 may cost 20–30% less per result than an ad scoring a 4, according to Facebook’s own data. - Content Type: Interactive and high-quality content tends to receive better engagement, enhancing reach.
Tip: Video ads on Facebook have 135% greater organic reach on average compared to photo ads.
🎯 Conversion Optimization
- Narrow Audience Targeting: Optimizing for conversions often involves targeting a specific audience segment, which can limit reach.
🔍 Example: An eCommerce brand targeting “Add to Cart” behavior within a custom audience of 10,000 users might only reach 2,000–3,000 due to algorithm filtering. - Ad Delivery Constraints: Facebook’s system may restrict ad delivery to a smaller group to ensure higher conversion rates.
💡 Statistic: According to Facebook, campaigns optimized for “link clicks” tend to reach 2–3x more users than those optimized for “purchase.” - Budget Considerations: Limited budgets can further constrain the number of users reached, especially when targeting specific conversion events.
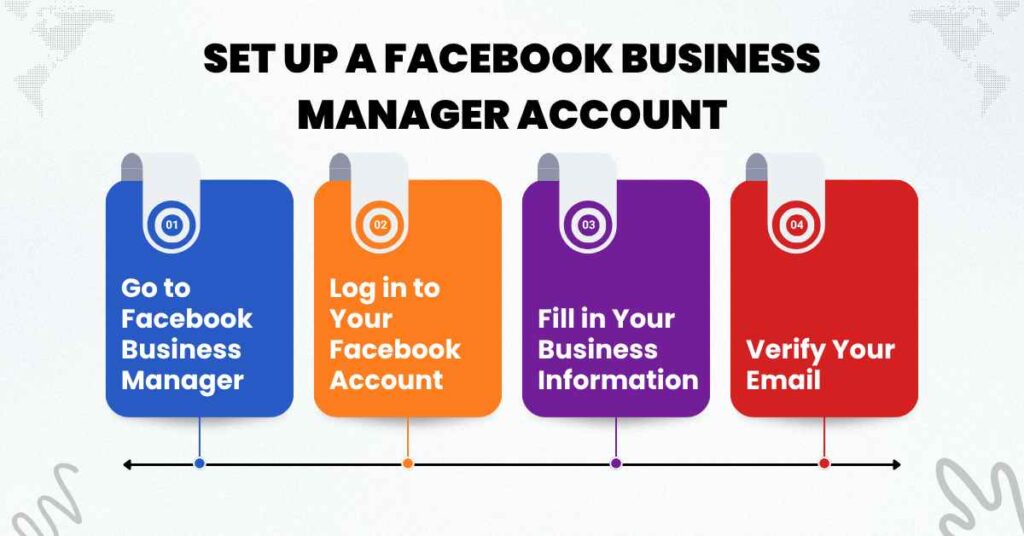
Step 1: Set Up a Facebook Business Manager Account
To create an ad account on Facebook, you first need to set up a Facebook Business Manager account. This tool allows you to manage all your business assets, including your ad account, pages, and Instagram accounts, in one central location. Here’s how to set it up:
- Go to Facebook Business Manager:
- Open a browser and go to business.facebook.com.
- If you don’t already have a Business Manager account, click on Create Account.
- Log in to Your Facebook Account:
- You need to be logged in to your personal Facebook account before creating a Business Manager account. This will be the account you’ll use to manage your business assets.
- Fill in Your Business Information:
- Enter your business name, your name, business email address, and the country.
- Click Submit to complete the registration process.
- Verify Your Email:
- Facebook will send you a confirmation email to verify your business email address. Follow the link in the email to complete the verification process.
- Go to Facebook Business Manager:
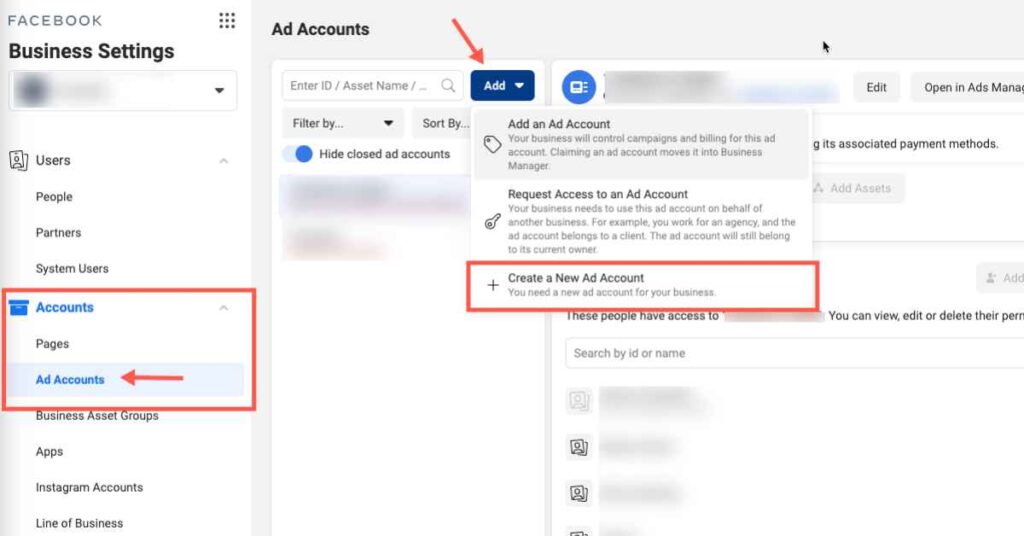
Step 2: Add an Ad Account to Facebook Business Manager
Now that your Business Manager account is set up, you can proceed to create an Ad Account. Here’s how:
- Log into Facebook Business Manager:
- If you’re not already logged in, go to business.facebook.com and log in using your credentials.
- Access the Business Settings:
- In the top-left corner of your Business Manager dashboard, click on the three horizontal lines (menu) and select Business Settings.
- Create an Ad Account:
- In the left sidebar of the Business Settings page, scroll down to Accounts and click on Ad Accounts.
- Click on the Add button.
- Choose Create a New Ad Account from the options provided.
- Fill Out Your Ad Account Information:
- Enter your Ad Account Name: Choose a name that reflects your business or campaign.
- Select your Time Zone: Choose the appropriate time zone that aligns with your business.
- Set your Currency: Choose the currency in which you want to pay for ads.
- Assign the Ad Account to Your Business:
- Select your Business to ensure the account is tied to your Facebook Business Manager.
- Add People to Manage the Ad Account:
- You can assign people to manage your ad account. Choose the people who will have access to manage campaigns and other settings.
- You can assign Admin access or Ad Account roles depending on the level of access you want to grant.
- Confirm Your Ad Account Setup:
- After filling in the details, click on Create. Your new ad account is now ready to use!
- Log into Facebook Business Manager:
Step 3: Set Up Your Payment Method
To run ads on Facebook, you need to set up a payment method for your ad account. Here’s how:
- Navigate to the Payment Settings:
- Go to your Business Manager Dashboard and click on the three horizontal lines (menu) in the top-left corner.
- Under Billing, select Payment Settings.
- Add Payment Method:
- Click on the Add Payment Method button.
- You can choose between various options like credit cards, debit cards, PayPal, or direct bank transfer.
- Enter Payment Details:
- Enter your payment method details (e.g., card number, billing address, etc.), then click Continue.
- Review and Save:
- Review the payment details you’ve entered. Once you’re satisfied, click Save to complete the process.
- Navigate to the Payment Settings:
Step 4: Set Up Your Facebook Ads Manager
Facebook Ads Manager is the tool that allows you to create and manage your ads. After your ad account is created, you can access Ads Manager directly through the Business Manager. Here’s how to get started:
- Access Facebook Ads Manager:
- In your Business Manager, go to the three horizontal lines (menu) and select Ads Manager under the Manage Ads section.
- Choose Your Marketing Objective:
- When you’re in Ads Manager, you’ll be prompted to select a Marketing Objective. Facebook offers several objectives to choose from, including:
- Awareness (brand awareness, reach)
- Consideration (traffic, engagement, app installs)
- Conversion (sales, lead generation, catalog sales)
- When you’re in Ads Manager, you’ll be prompted to select a Marketing Objective. Facebook offers several objectives to choose from, including:
- Define Your Audience:
- Use Facebook’s targeting features to define your audience based on demographics, interests, location, and behaviors. You can create a custom audience using data from your website, email list, or previous customers.
- Set Your Budget:
- You can choose between a daily budget (how much you’re willing to spend per day) or a lifetime budget (how much you’re willing to spend over the entire duration of the campaign).
- Create Your Ad:
- Upload your ad creative (images, videos, copy) and preview it before launching. Make sure your ad follows Facebook’s advertising guidelines to avoid rejection.
- Place Your Order:
- Once everything looks good, click Confirm to submit your ad for approval. Facebook will review your ad, and once it meets their guidelines, it will go live.
Step 5: Monitor and Optimize Your Ads
Once your ad is live, it’s important to track its performance and optimize it to get the best results. Here’s how to monitor and optimize your ads:
- View Ad Performance in Ads Manager:
- In Ads Manager, you can see detailed performance metrics such as:
- Impressions (how many times your ad was seen)
- Clicks (how many people clicked on your ad)
- CTR (Click-Through Rate) (the percentage of people who clicked on your ad)
- Conversions (how many people took action after seeing your ad)
- In Ads Manager, you can see detailed performance metrics such as:
- Adjust Your Campaign:
- Based on the data, you may decide to adjust your targeting, ad creative, or budget to improve the performance of your ad.
- A/B Testing:
- Facebook Ads Manager allows you to perform A/B testing (split testing) to compare different versions of your ad and see which one performs better.
- Optimize for Conversions:
- If your goal is to drive sales or leads, ensure you have set up Facebook Pixel on your website. The Pixel tracks user behavior and helps optimize your ads for conversions.
Creating a Facebook ad account is a straightforward process, but to maximize your ad performance, it’s important to continually monitor and optimize your campaigns. By following the steps outlined in this guide, you’ll be able to set up a professional ad account, create compelling campaigns, and effectively manage your advertising budget. Whether you’re running a small business or trying to increase brand visibility, Facebook ads offer an unparalleled platform to reach a targeted audience.
- View Ad Performance in Ads Manager:
Quick Recap:
- Create a Facebook Business Manager account for managing your business assets.
- Set up an Ad Account within the Business Manager dashboard.
- Add a payment method to fund your campaigns.
- Use Facebook Ads Manager to create and manage your ads.
- Monitor and optimize your ad performance with detailed analytics.
With your ad account set up and ready to go, you’re on your way to leveraging the full potential of Facebook’s advertising platform. Good luck with your campaigns!

